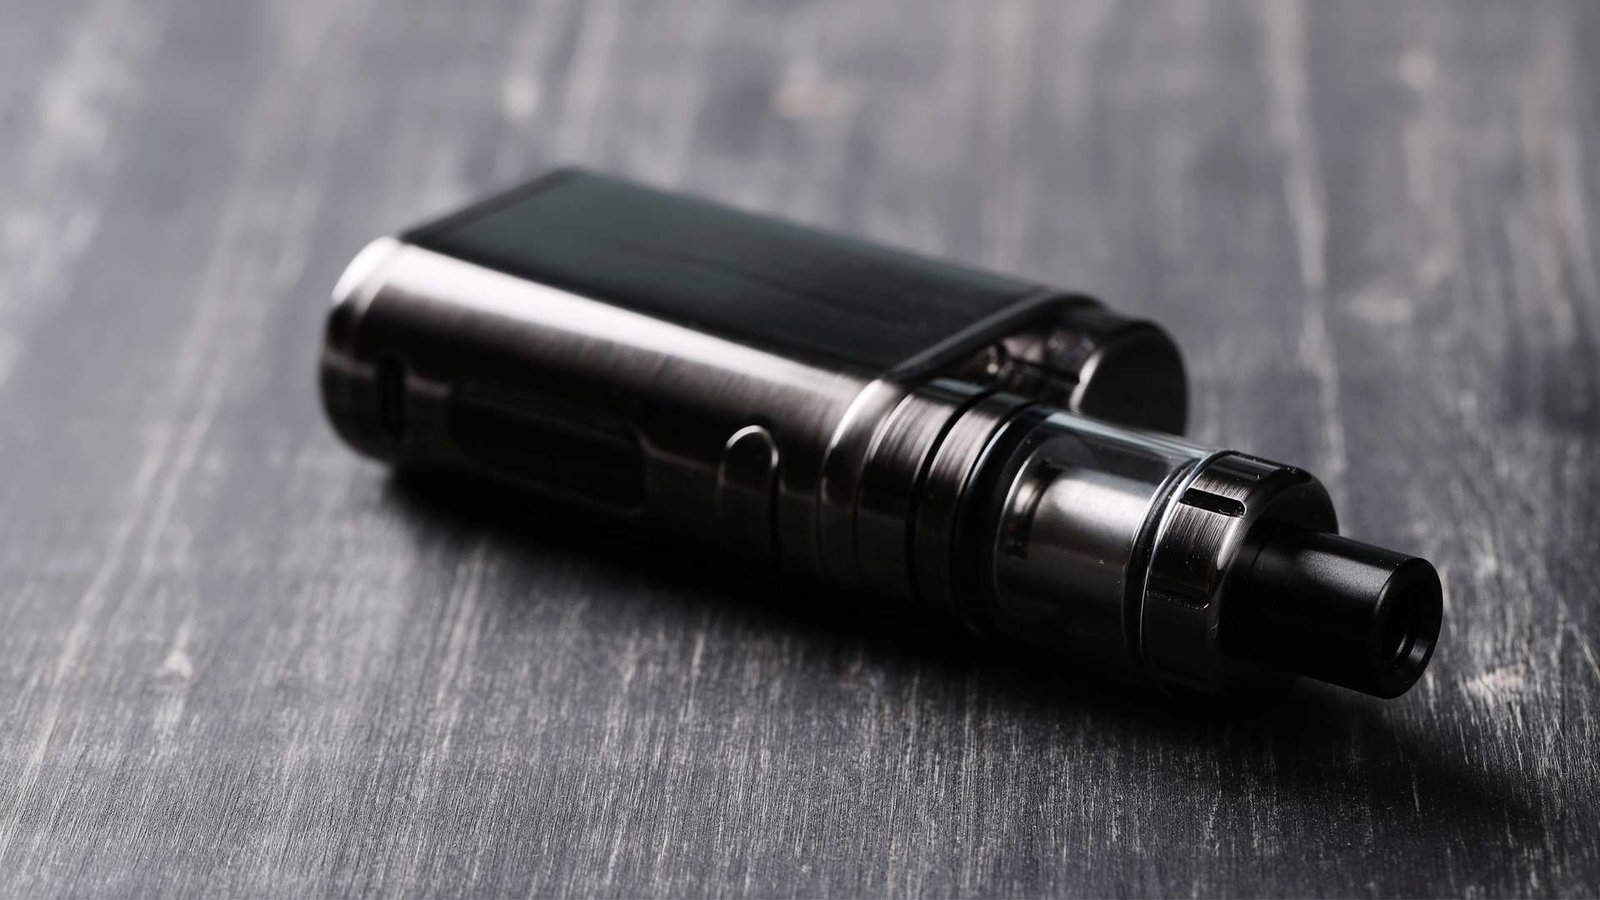
Vape pods have become a popular choice for many individuals looking to enjoy the benefits of vaping. They are compact, convenient, and offer a wide variety of flavors. However, to maintain the best possible vaping experience and ensure the longevity of your vape pod, it’s essential to keep it clean. In this step-by-step guide, we’ll walk you through the process of cleaning your vape pods effectively.
Materials You’ll Need:
1.Used Vape Pod:Ensure the pod is empty of e-liquid and disconnected from the battery.
2.Paper Towels or Clean Cloth:For wiping and drying.
3.Warm Water:You’ll use this for the primary cleaning process.
4.Rubbing Alcohol or Vodka:This helps disinfect and remove stubborn residue.
5.Cotton Swabs or Q-Tips:Ideal for reaching small and tight spaces.
Step 1: Disassemble Your Vape Pod
Start by disassembling your vape pod. Remove the mouthpiece, pod cartridge, and any other removable parts. This will make it easier to clean all the individual components thoroughly.
Step 2: Rinse with Warm Water:
Hold the individual components under warm running water. Rinse away any loose debris or e-liquid residue. Avoid using hot water, as it can damage the materials or seals. Make sure not to soak the electronic components; instead, focus on rinsing the non-electronic parts like the pod cartridge and mouthpiece.
Step 3: Wipe Down with a Paper Towel or Cloth:
After rinsing, gently pat dry the components with a paper towel or clean cloth. Ensure they are completely dry before reassembling your vape pod.
Step 4: Deep Cleaning with Rubbing Alcohol or Vodka:
To disinfect and remove any stubborn residue, dampen a cotton swab or cloth with rubbing alcohol or vodka. Wipe down the interior of the pod cartridge and the connection points carefully. Avoid getting alcohol on the coil or any electronic parts.
Step 5: Reassemble and Test:
Once you’re confident that all components are clean and dry, reassemble your vape pod. Reconnect it to the battery and take a test puff to ensure everything is working correctly.
Step 6: Regular Maintenance:
Cleaning your vape pod should become part of your regular maintenance routine. Depending on how often you use it, consider cleaning it every 1-2 weeks or when you change e-liquid flavors. This will help maintain the flavor quality and extend the lifespan of your pod.
Step 7: Reassemble and Refill:
Once your pod is completely dry, reassemble it by attaching the mouthpiece and any other parts you removed. Now, you can refill it with your preferred e-liquid.
Step 8: Test and Enjoy:
Before using your vape pod, give it a test fire to ensure everything is functioning correctly. Enjoy the clean, fresh flavor and vapor production from your freshly cleaned pod.
Final Thoughts:
A clean vape pod not only improves the taste of your e-liquids but also ensures the longevity and performance of your device. With this step-by-step guide, you can easily keep your vape pod in tip-top condition, allowing you to enjoy your vaping experience to the fullest. Remember to follow safety precautions and never use excessive force when cleaning to avoid damaging delicate components.


One thought on “Everything You Need to Know About Disposable Vapes”